Ever gazed upon a miniature and wondered how it achieved such realistic gradients and depth? Well, chances are, the secret behind that mesmerizing finish is the art of layering.
It’s a fundamental technique which is used by almost all miniature painters, and can achieve amazing effects. Read on our Master miniature painting: layering article to know more.
What is Layering?
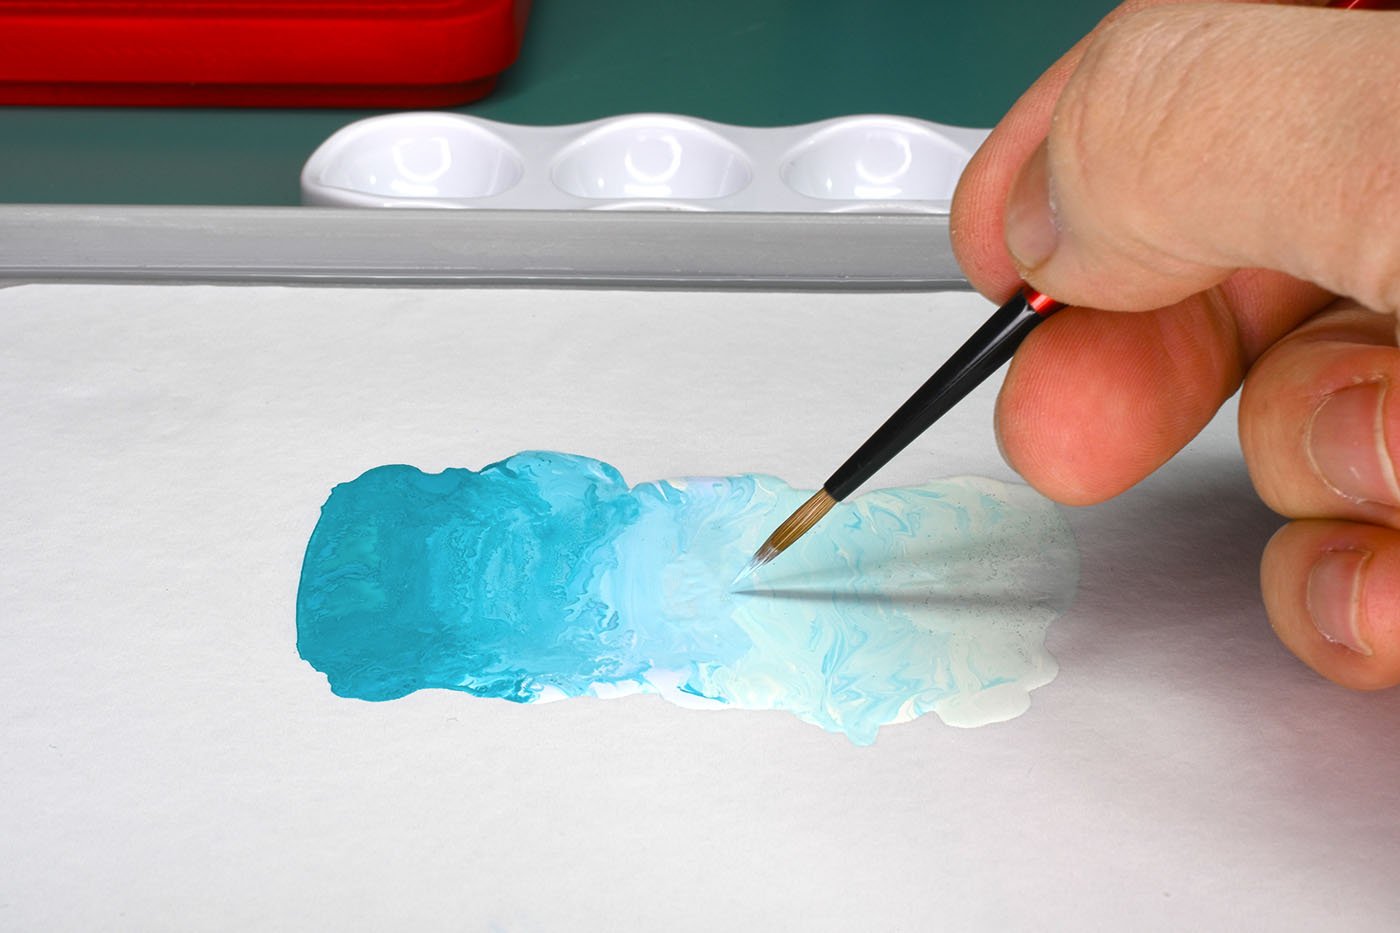
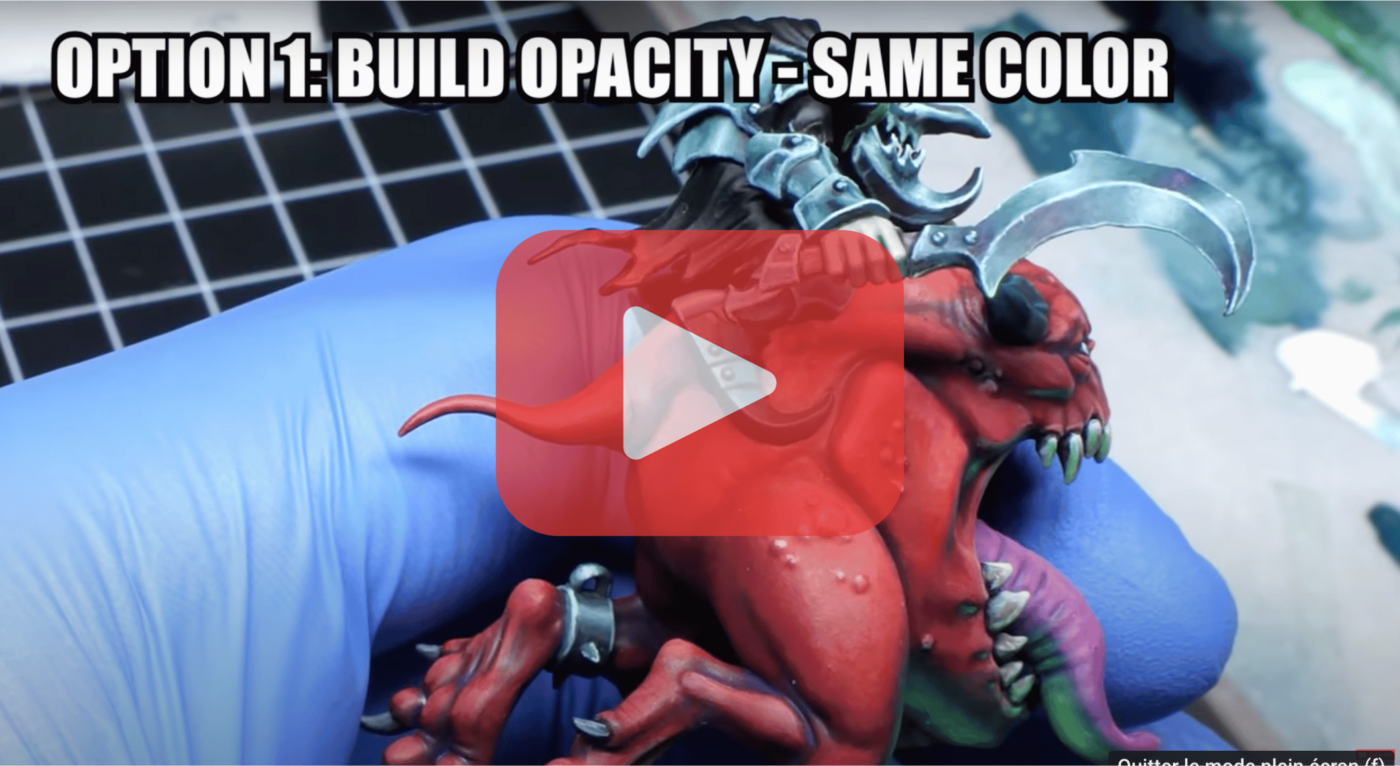
At its essence, layering is the repeated application of thinned paint, usually in a 1:1 ratio with water. This results in a smooth coat that’s semi-opaque, giving your miniatures a beautifully blended look. The goal is to apply these layers as evenly as possible, aiming for minimal brush strokes.
Each new layer covers a slightly smaller area of the miniature and uses a lighter shade of paint. This technique creates a gradient, simulating the play of light and reflections.
"Don't be afraid to layer up your paints. The more layers you apply, the more realistic your miniature will look."
Layering Tutorial
Base Layer:
Begin by applying a thin base coat to the area you intend to layer. This should be the darkest color you plan to use for that section.
Allow it to dry thoroughly.
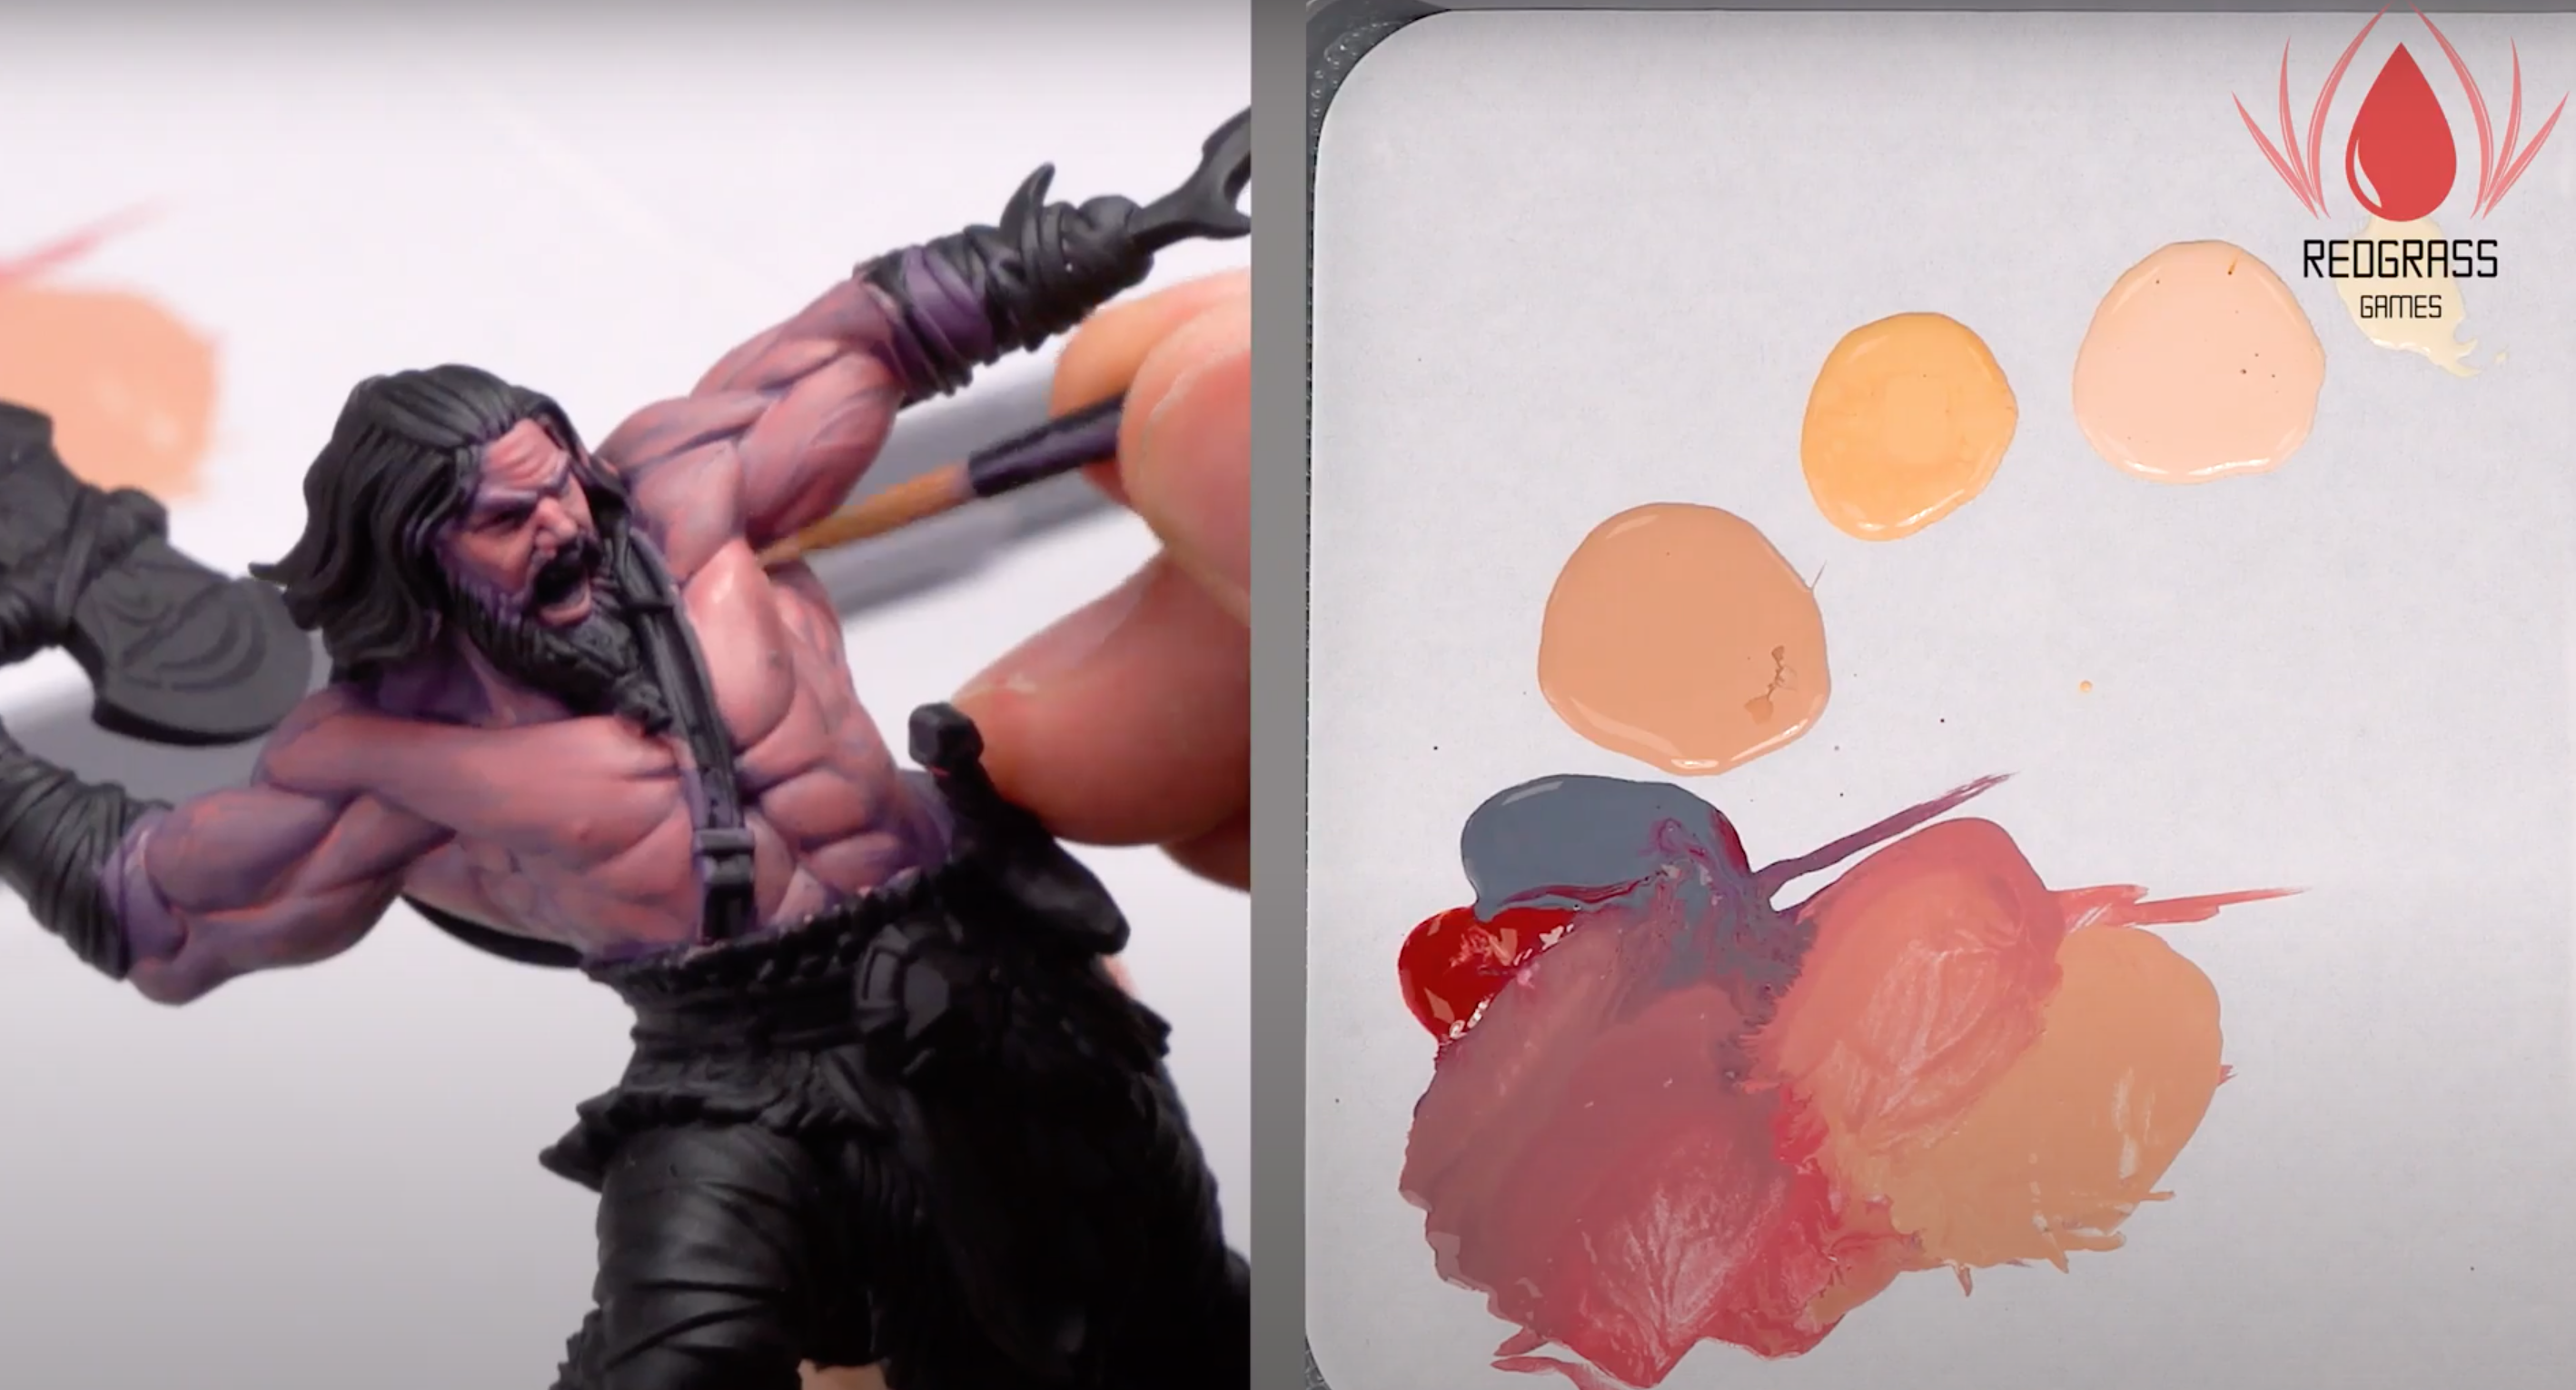
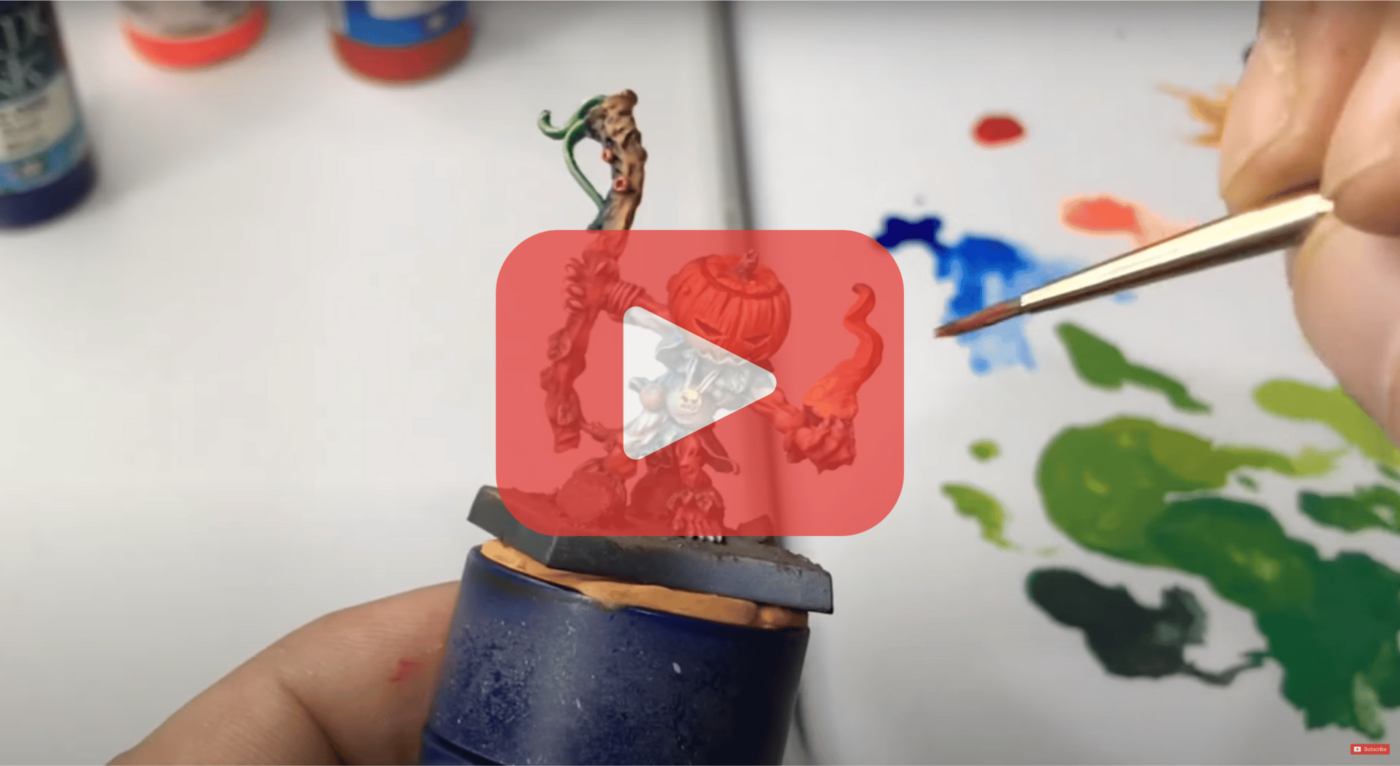
Prepare Your Paints:
On your palette, place a small amount of the base color next to a small amount of the lighter color you want to transition to.
Thin your paints slightly with water or medium using the dilution ratio 1:1.
First Layer:
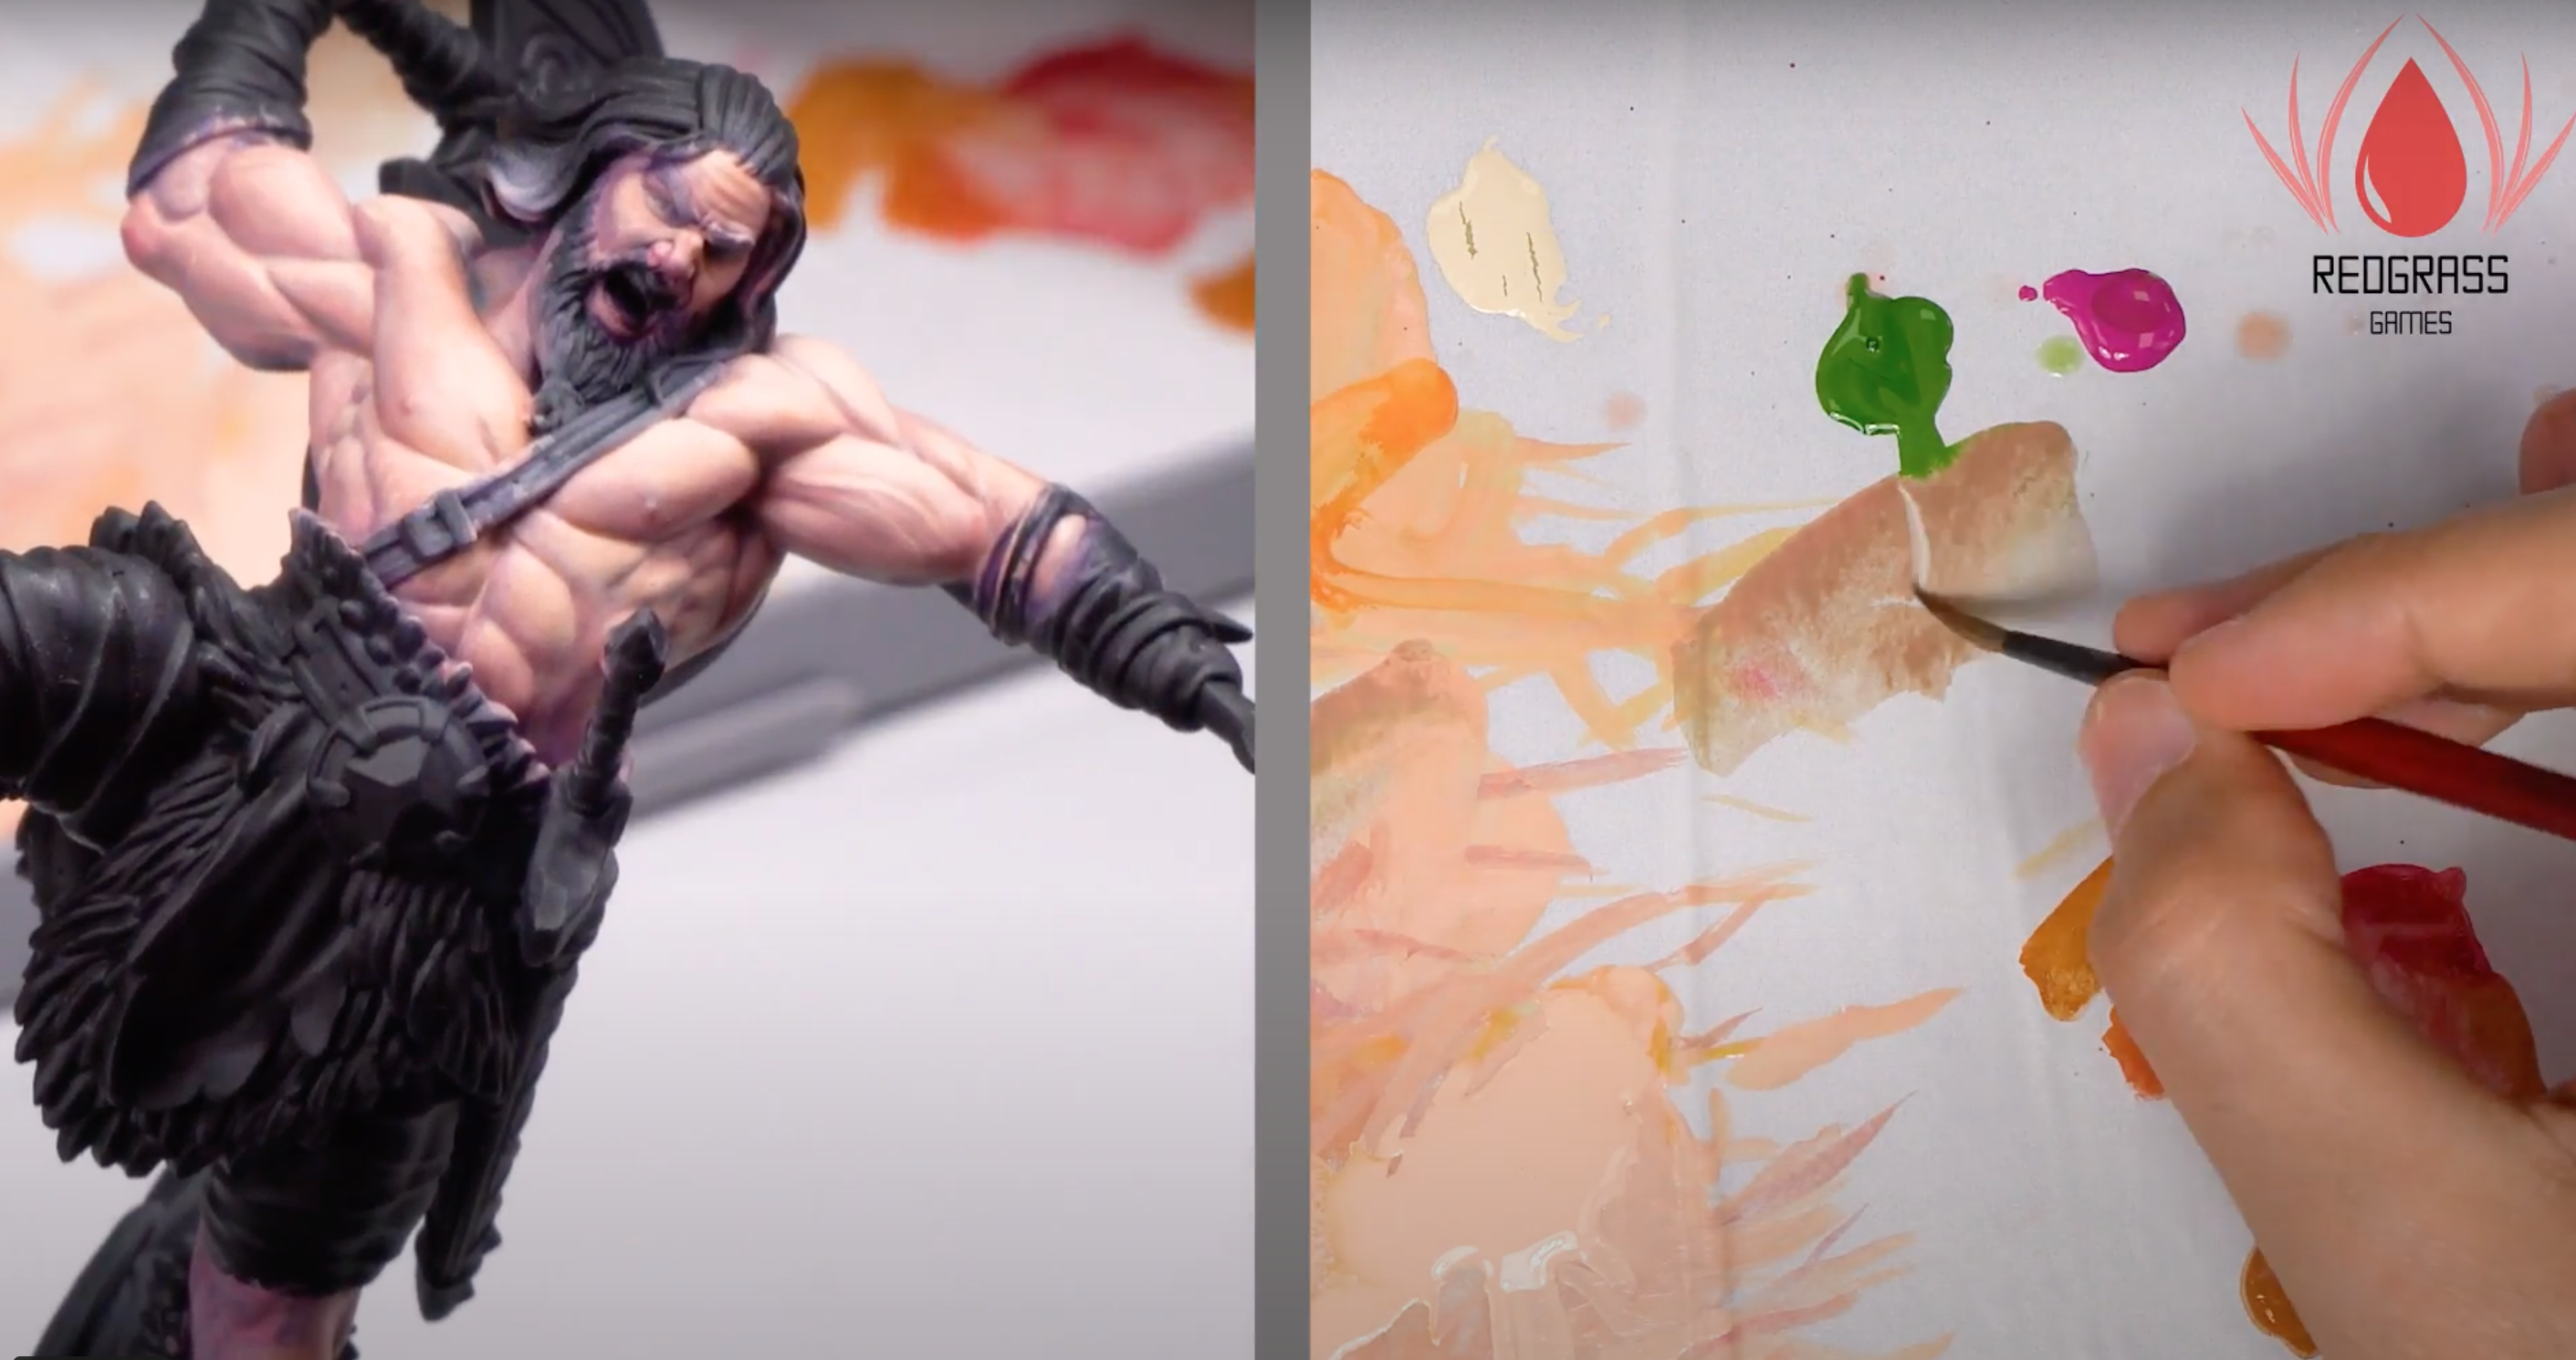
Create a mix on your palette that is slightly lighter than your base coat by blending a little of the lighter color into your base color.
Then paint this new color onto the areas of the miniature where light would naturally hit, leaving the deepest recesses in the base color.
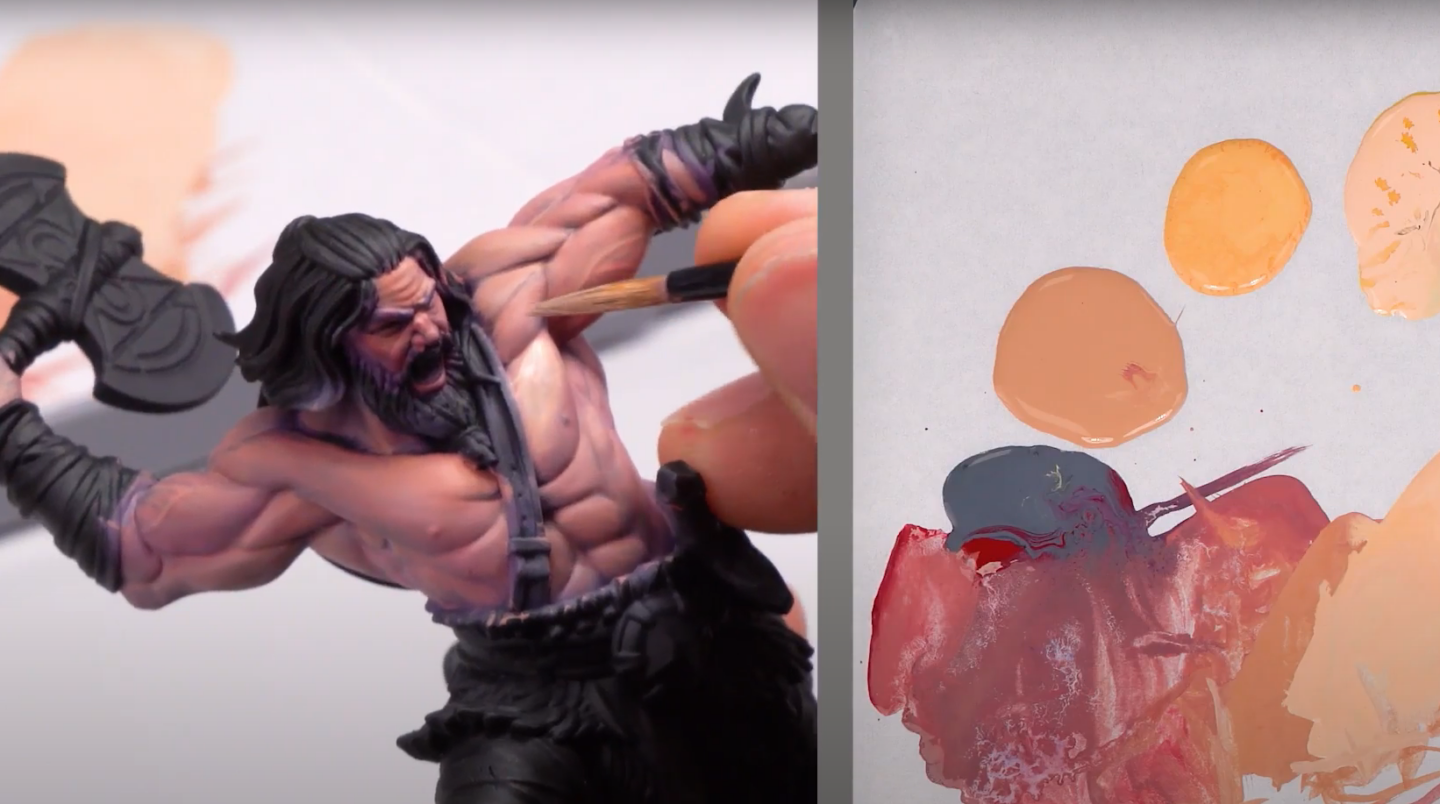
Subsequent Layers:
For each new layer, add a little more of the lighter color to the mix, thinning with water or medium as needed to retain the same consistency.
Paint this slightly lighter shade onto the miniature, but cover a slightly smaller area than you did with the previous layer. This helps create a gradual transition from dark to light.
Remember to allow each layer to dry before adding the next. You can speed this up using a hair dryer if needed.
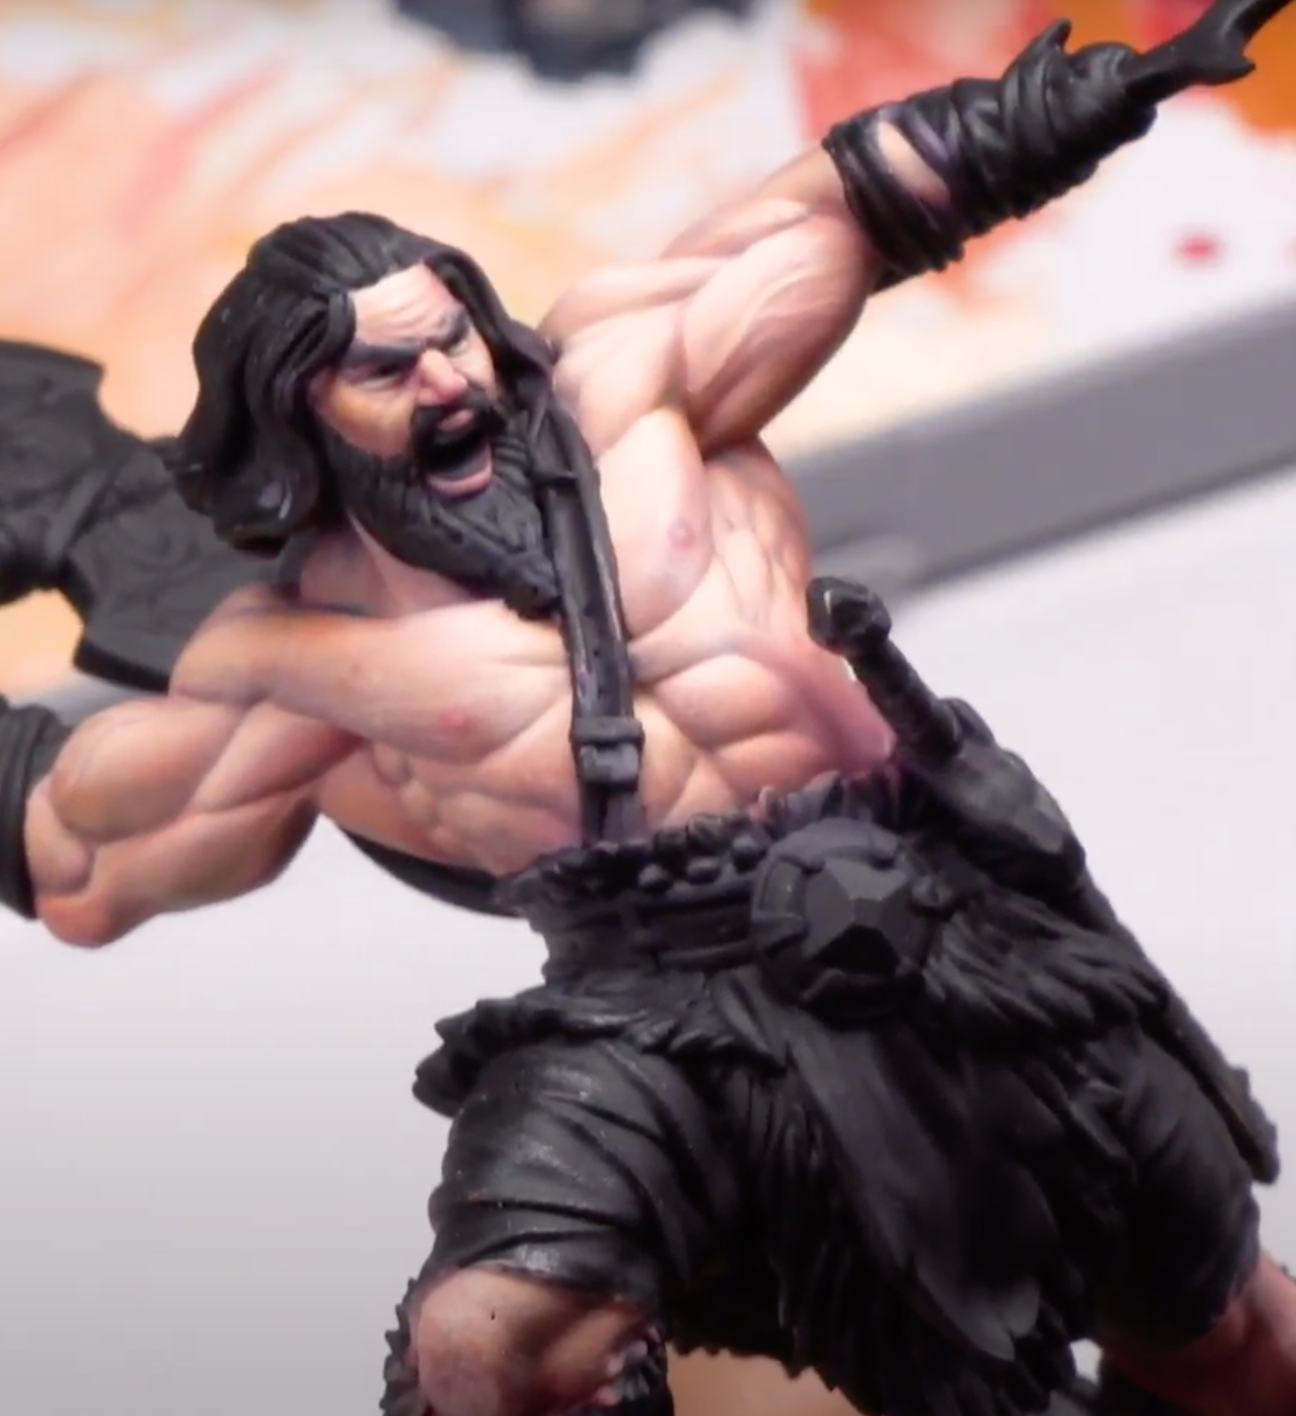
Final Highlight:
For the very last layer, use the lightest color without any of the darker base mixed in.
This should be applied sparingly, only to the very highest and most exposed parts of the miniature – like the tips of noses, ridges of armor, and highest points of cloth folds.
Blending:
If you find the transitions between layers are too stark, you can smooth them out by thinning down your paint further and gently brushing between the layers, blending them together.
Finishing Touches:
Once satisfied with your layering, finalize your miniature with any other details you want to add.
Seal your work with a varnish to protect it.
Top Tips for Layering
Experimentation is Your Friend: Every artist has a unique touch. Explore various colors and techniques without being bogged down by rights and wrongs. After all, the best teacher is experience.
Get Inspired: The world is teeming with talented miniature painters, many of whom showcase their masterpieces online. Scouring through their works might spark your next big idea.
Embrace Errors: Mistakes are inevitable, especially when trying something new. Instead of getting disheartened, use them as stepping stones to mastery.
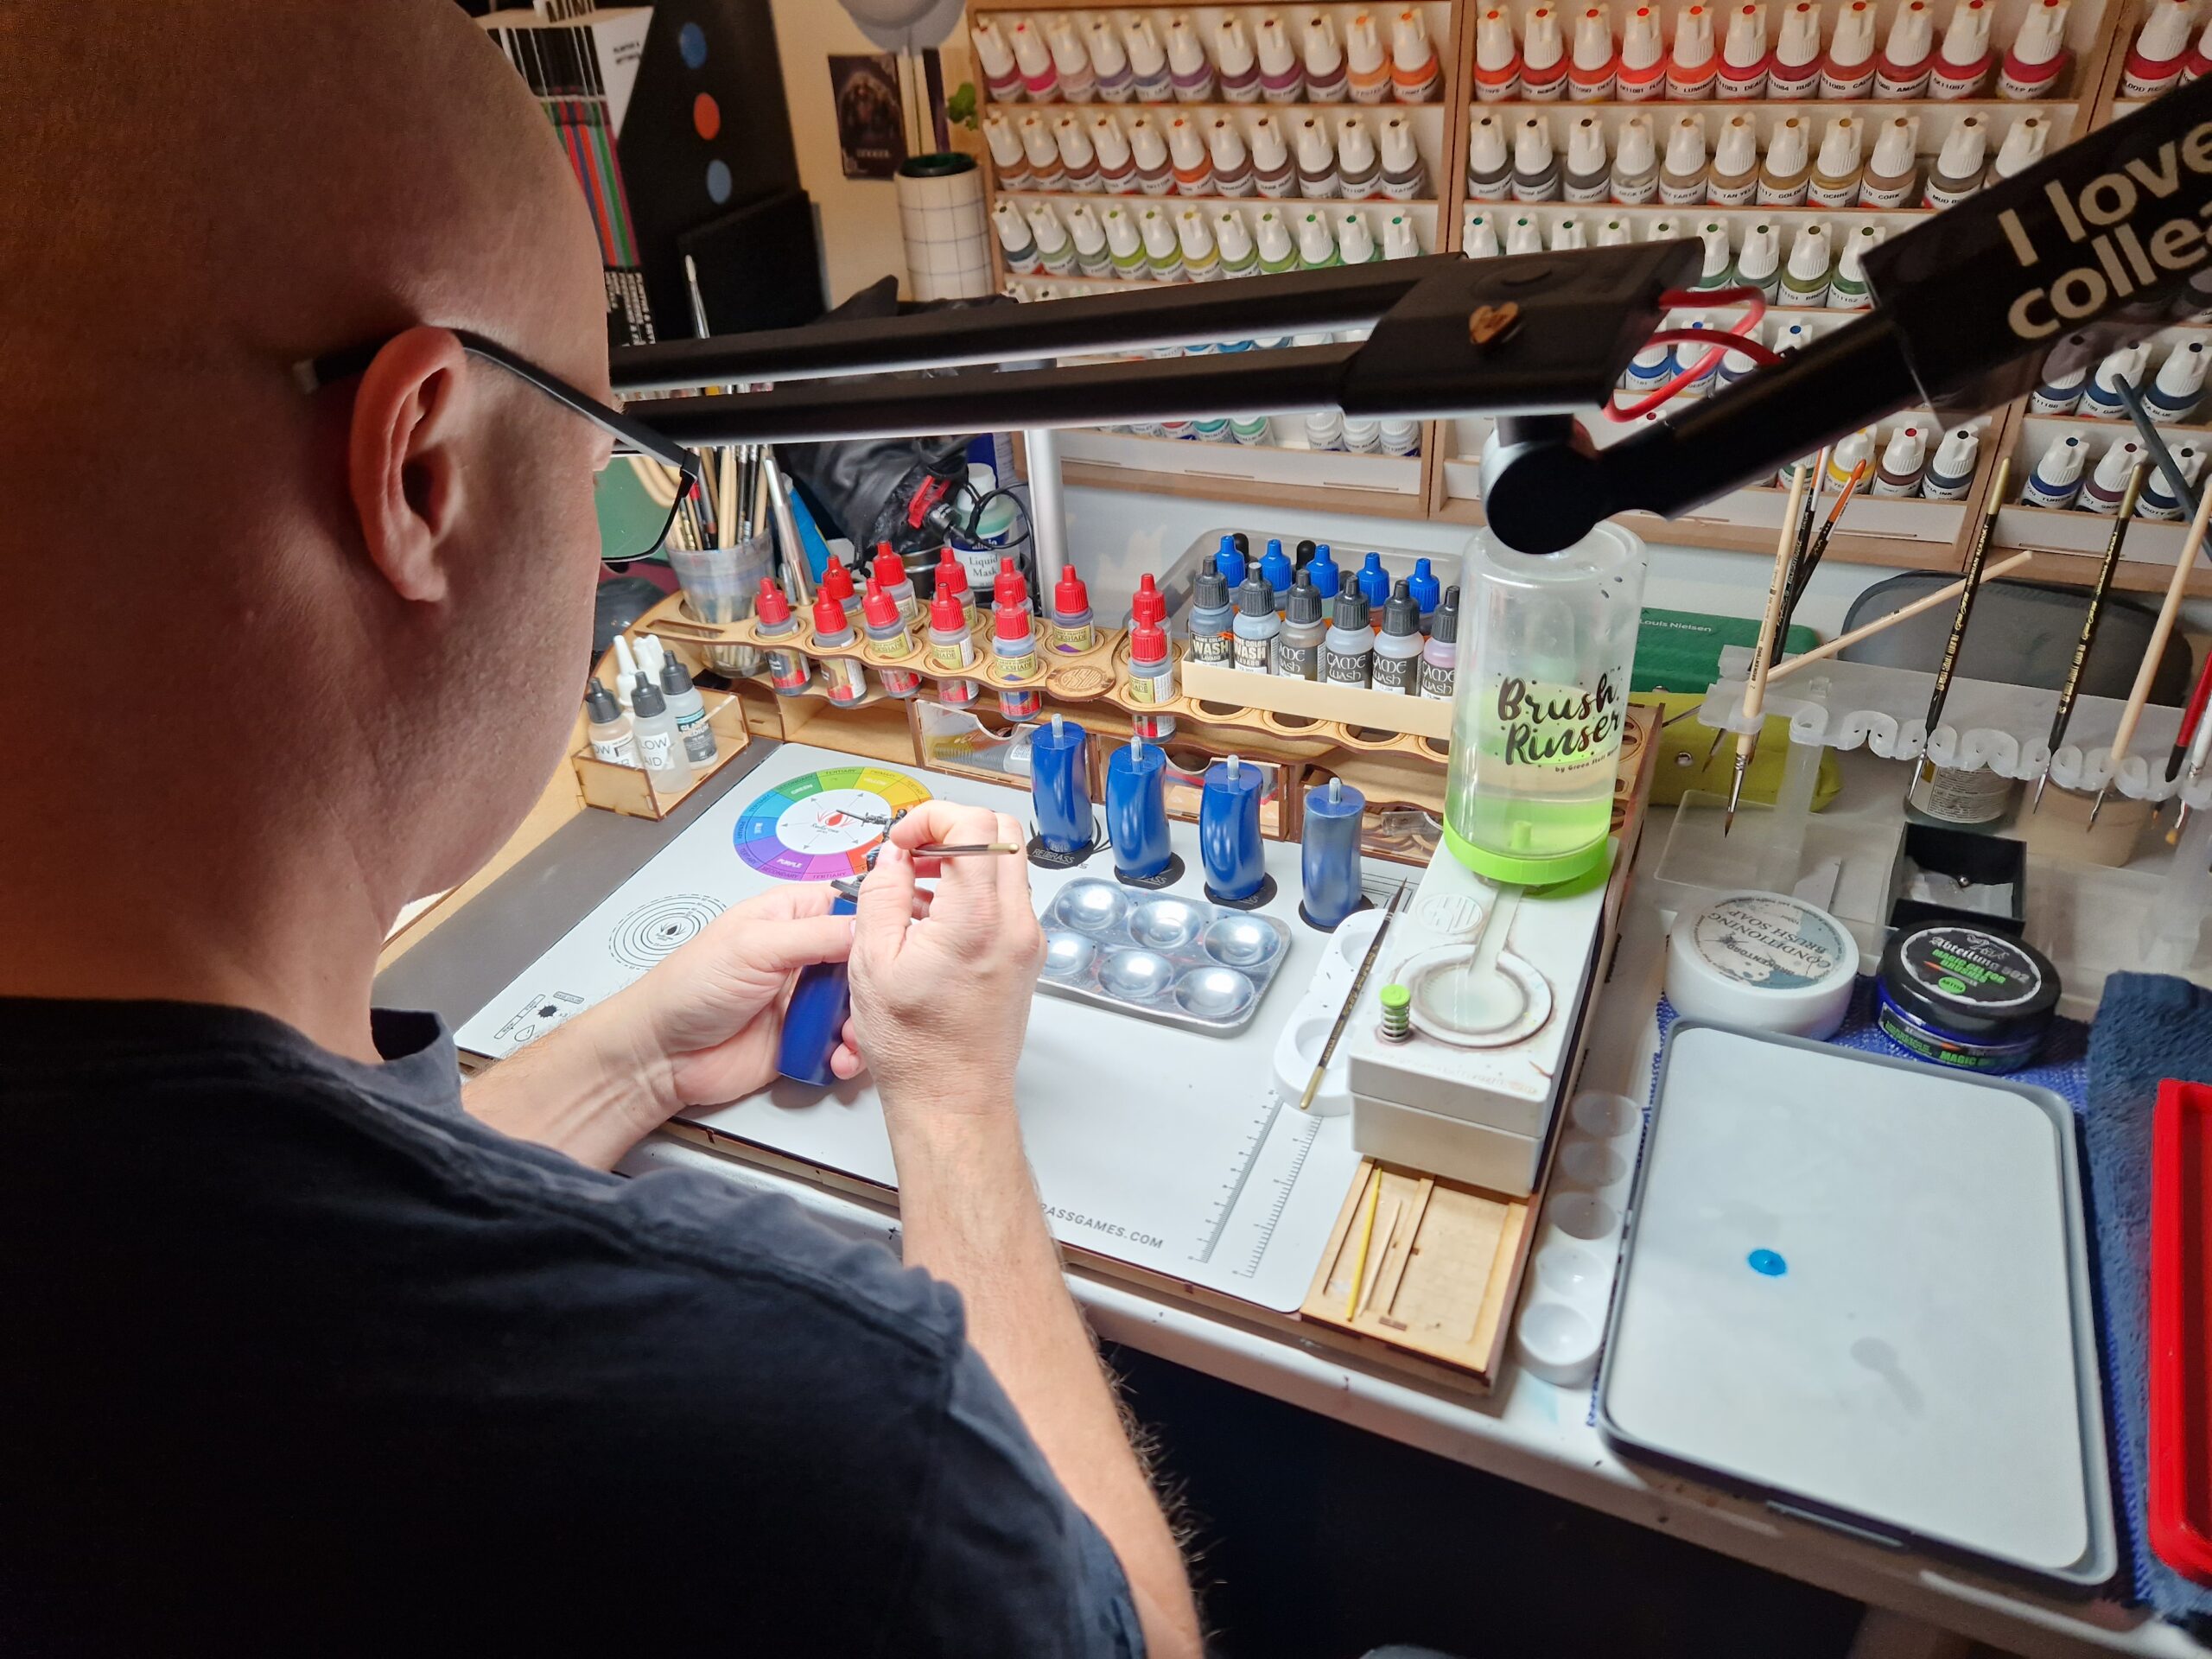
Invest in Quality: A top-tier brush is a game-changer. It aids in seamlessly blending colors.
Want more info on layering?
The FREE Redgrass Miniature Painting Book has more tips on layering, among many other techniques and can be downloaded using the button below!