How to paint ultramarines space marines?
If Space Marines are the poster boys of Warhammer 40k, Ultramarines are the poster boys of Space Marines. The defenders of Macragge and the sons of Roboute Guilliman are easily recognisable in their blue power armor.
In this guide we shall show you some tips to make painting them easy.
So starting at the beginning, I assembled the miniature. For this guide I used an Assault Intercessor model, and constructed it using the box instructions and a good clippers like the RGG Precision Nippers. I added the reliquary and ammo pouch on his back as nice optional details found in the kit. As a plastic kit, I used a plastic cement rather than superglue. I also scraped off some of the most visible mould lines with a blade, and drilled the barrel of the pistol. You can of course prime and basecoat your models with a brush, and if you do I would recommend one with a large belly and a good tip like the RGG brush size 2. However, wherever possible I would recommend spray priming your miniatures for speed and ease. I used a white primer, because I wanted the blue layer going on top of the primer to be really bold.
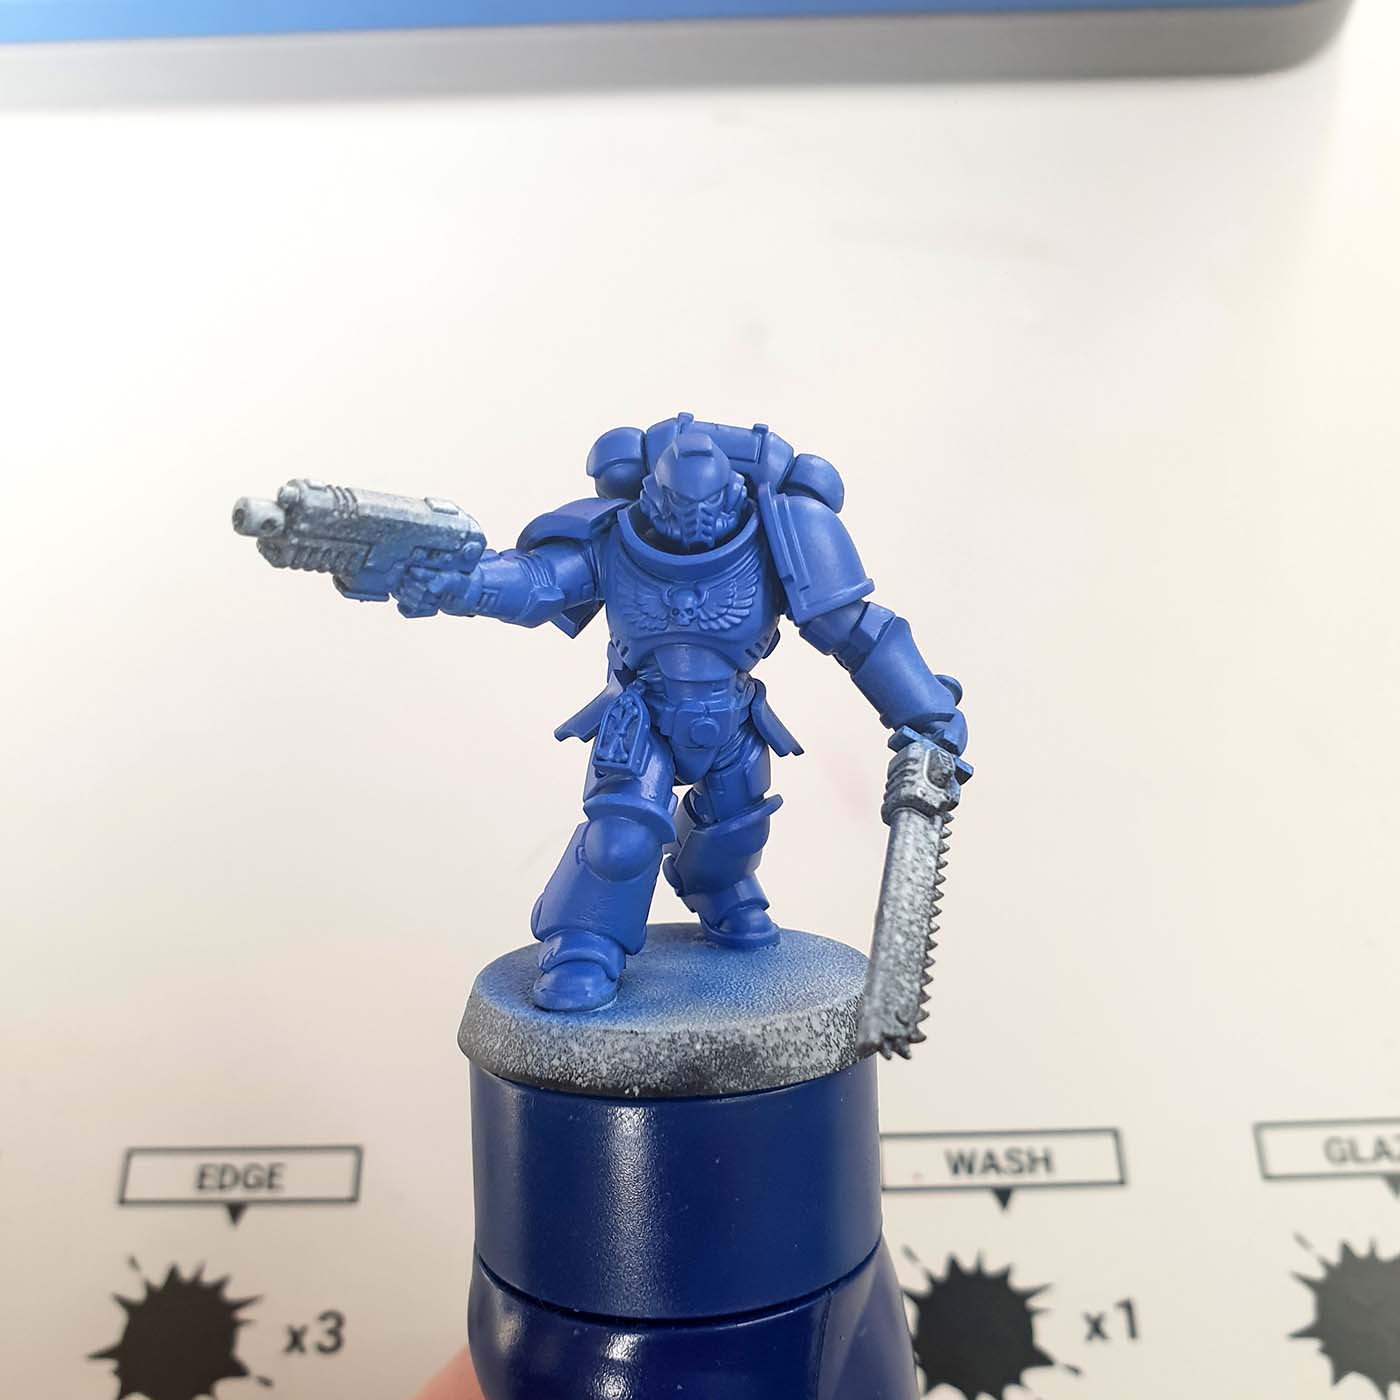
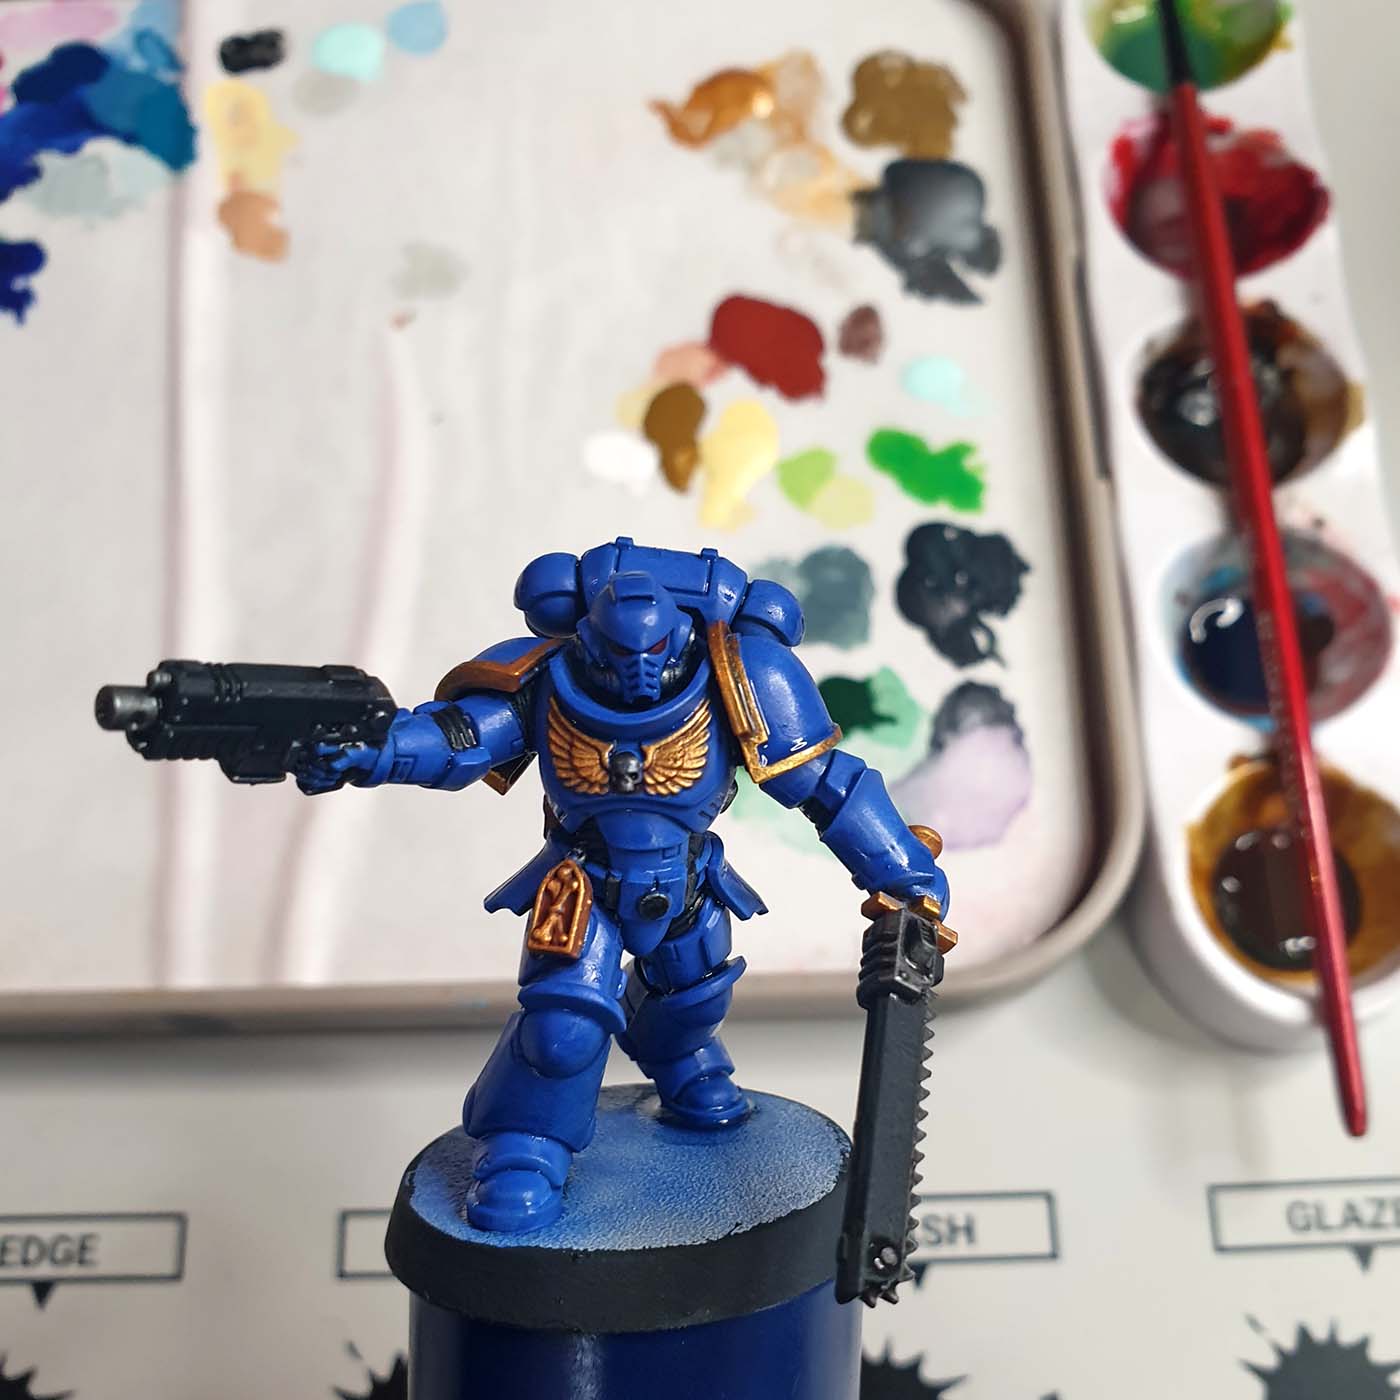
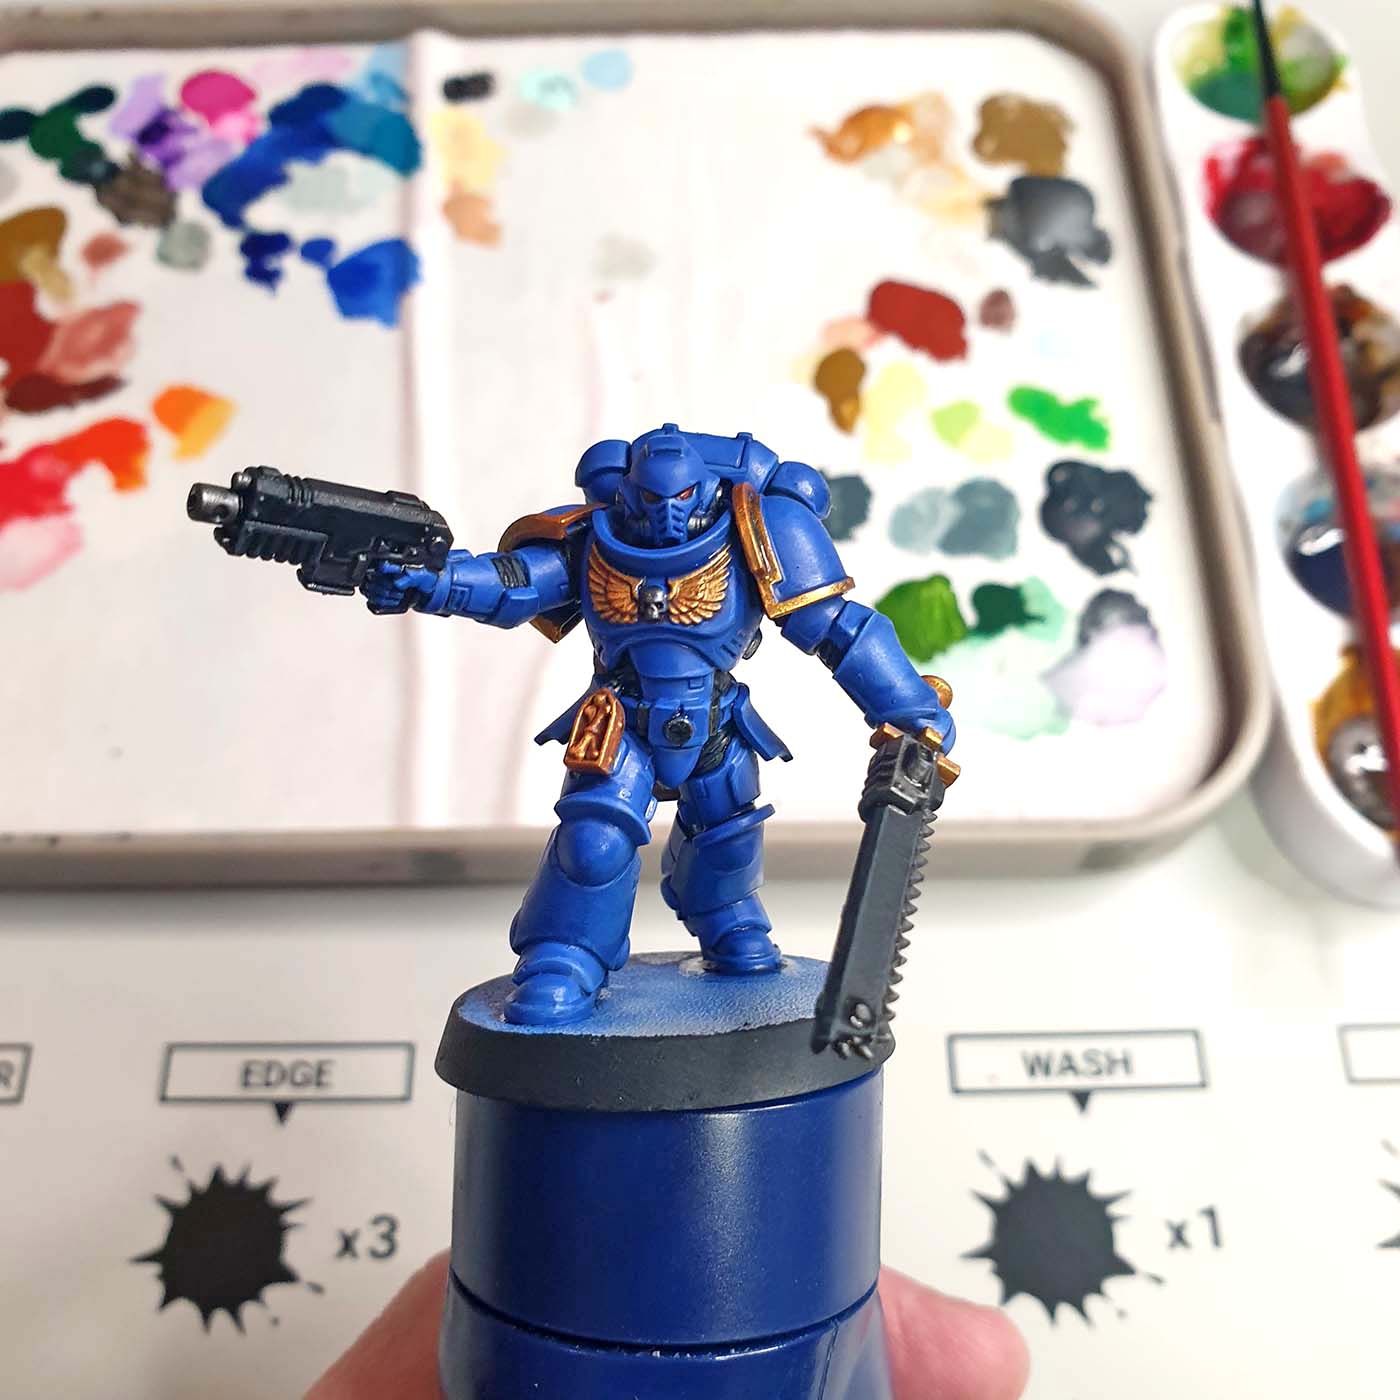
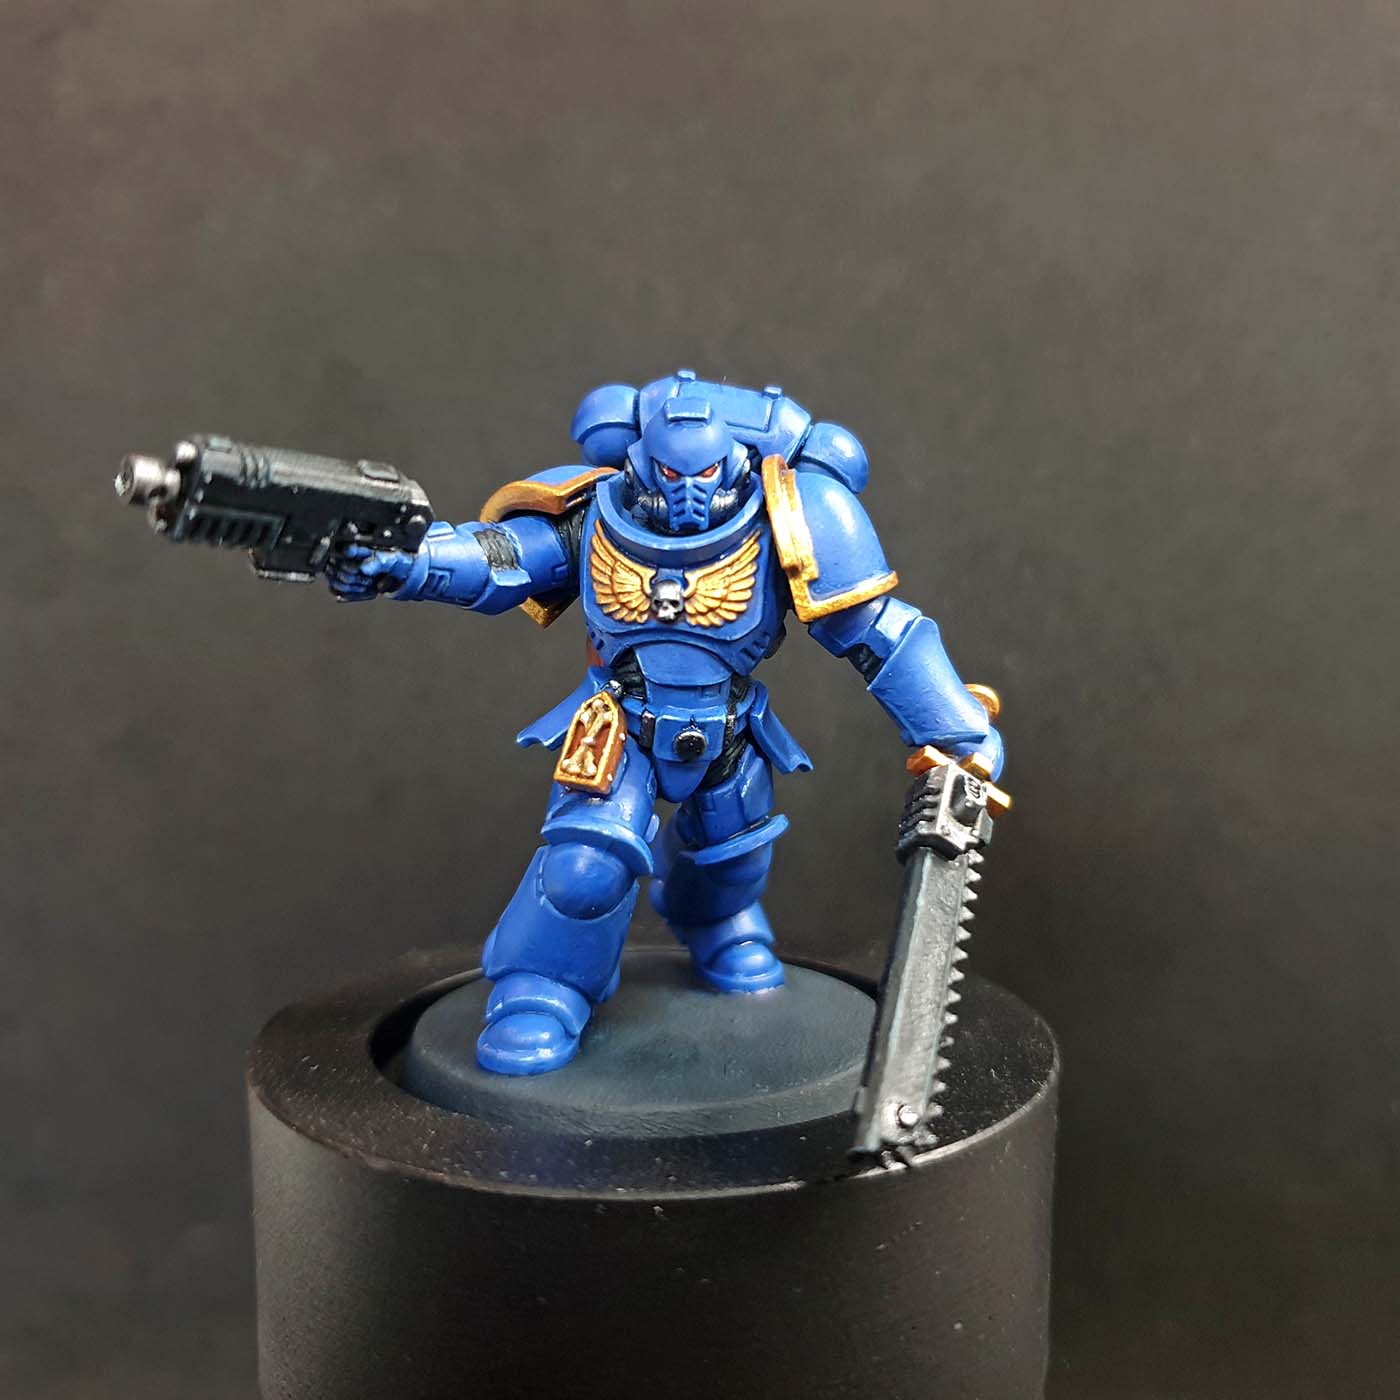
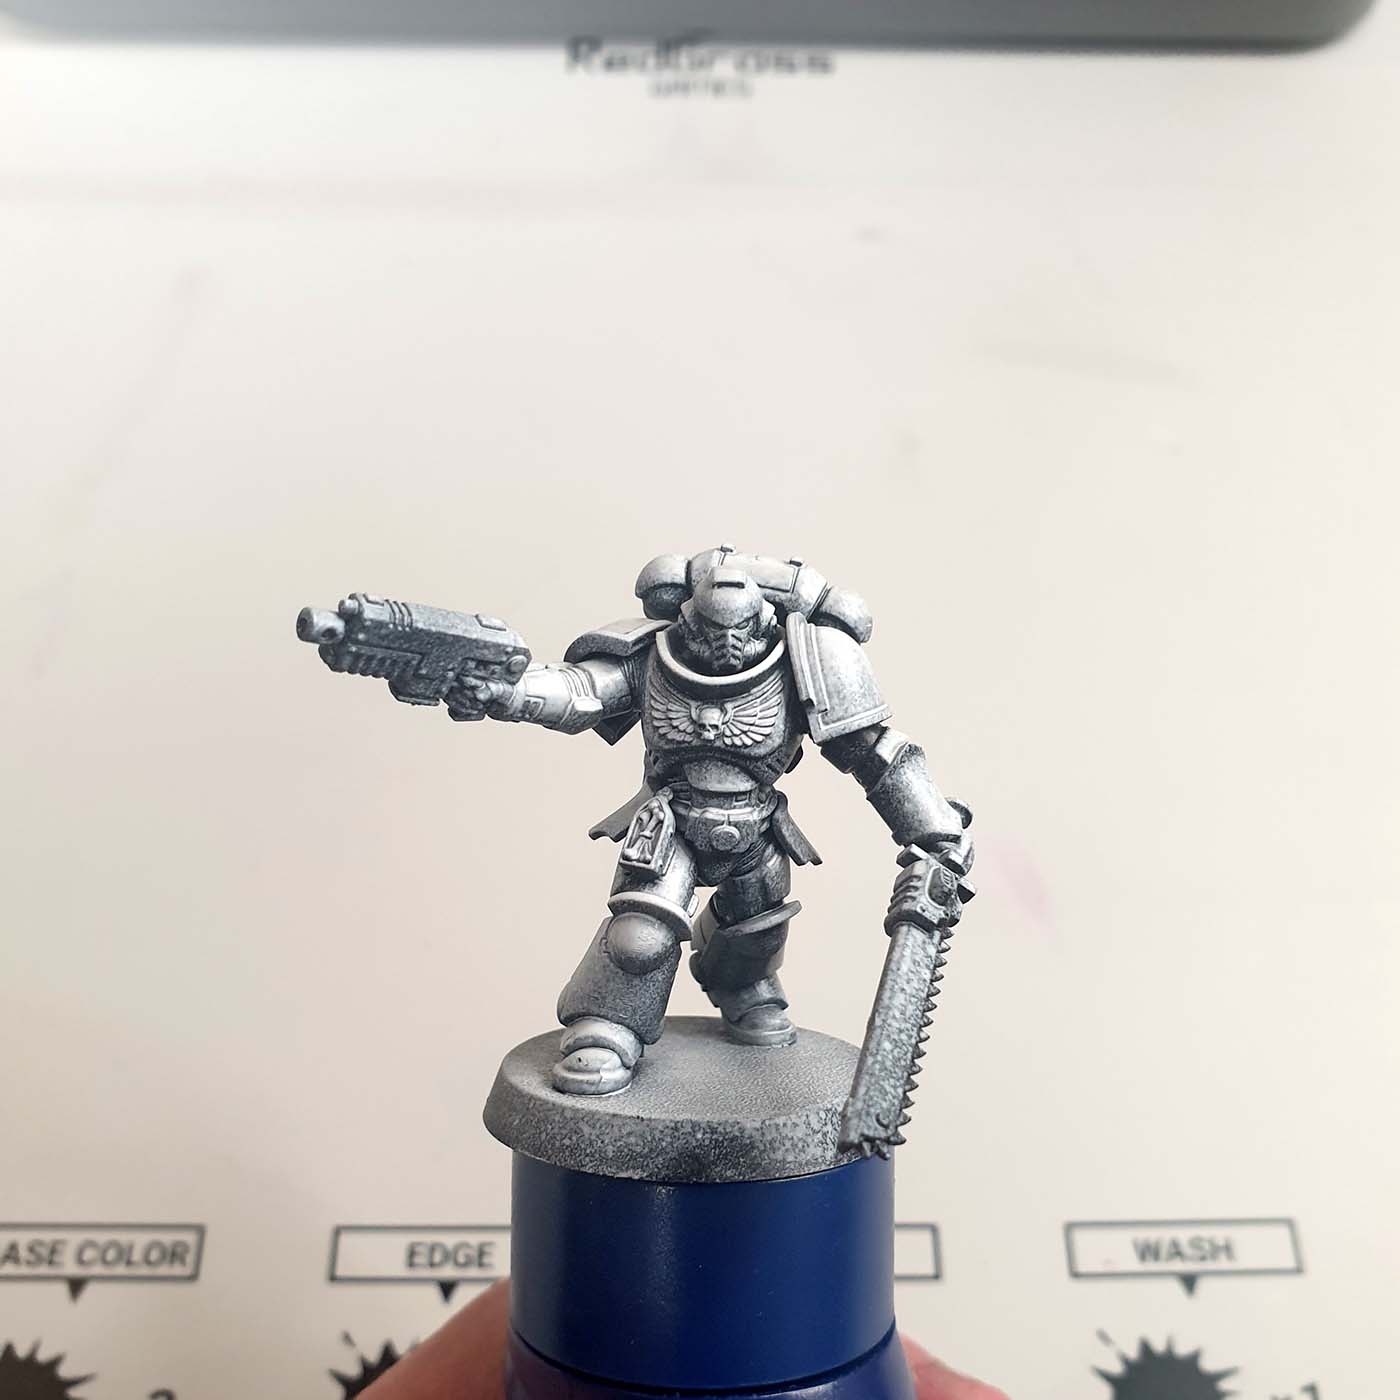
When painting any miniature, it is important to decide ahead of time what you would like to focus on. Try to set achievable goals. Here, I wanted to replicate the 'boxart' standard of Ultramarine Space Marines found on the shelves of your local Warhammer 40,000 seller. Many miniature painters start with painting space marines, Ultramarines particularly. I wanted to see if I could meet the standard of 'Eavy Metal painters, but with a more novice set of experiences & resources.
What is going to be the thing that draws the viewer’s eye? Here, I think it would be the distinctive blue armor he is wearing. So I decided that the power armor was going to be the feature I wanted to focus on when painting. As this should be replicable across a squad or army, I wanted techniques that would be relatively speedy. They should also help the scheme look effective across a whole range of Ultramarines on the battlefield. Burnout and fatigue are real issues with batch painting, so be sensible and manage your goals!
Next, I painted the iconic blue armor. You can actually get a good blue bascoat spray, which is ideal for painting lots of Ultramarines at once. Here however I just used a normal paint from the pot. Make sure it is a good ‘midtone’ blue- not too dark nor too light. This will help making contrast with your washes and highlights later.
Thin the paint with a little water or glaze medium before applying to your mini. You may need a couple of coats for a smooth and consistent coverage. I use a Redgrass Games wet palette because it is invaluable to keep that acrylic paint workable whilst out of the pot! You should avoid applying paint straight from the pot. Once dry, I put a dark blue ‘wash’ across all the armor surfaces. It is quick and really helps define the recesses and grooves of the sculpt. Allow this to fully dry (30+ minutes) and apply another wash if necessary.
Ask yourself ‘what colours are appropriate?’ I chose a charcoal gray for the black panels and weapon cases, and a gold for decorative elements like the chestplate aquila. The ‘bare’ metal I painted with a dark steel, whilst the helmet lenses got a dark red basecoat. Finally, the pistol holster and ammo pouch on his back were painted with a red-brown.
The addition of these other colors helps break up the preponderance of blue armor. Mostly I used the Size 2, but for smaller parts like the small details I used the Redgrass size 00, which is great for detail work. Once again I was sure to ‘wash’ these new colors to stop them looking flat and lacking in definition. For the eyes and gold I used a red-brown wash, and for the bare metal on the chainsword and bolt pistol for instance, I used a black wash. I matted the blue armor down with matte varnish, as the wash gave it an undesirable glossy finish to me.
I was sure to 'wash' these new colors to stop them looking flat and lacking in definition. For the eyes and gold I used a red-brown wash, and for the bare metal on the chainsword and bolt pistol for instance, I used a black wash.
Recess shading often gives you a ‘quick win’ and you can quickly see a big difference before and after. However, it works best when coupled with some edge highlights- at least on Ultramarine Space Marines! All those thick and sharp armor panels really benefit from thin, stark highlights on the outermost edges.
I first made a 50/50 mix of the midtone blue with a sky blue on my wet palette. Then I thinned this with a little water- I want it thin and easy to control for such fine edging work. I used the side of my 00 brush wherever possible in applying this edge highlight, as it offers more consistent control. Initially the contrast may seem too subtle, but as you go over the lines repeatedly, increasing the ratio of sky blue to your midtone blue, it will really ‘pop’! On places like the helmet grill, kneepads, and gauntlets, I finished with a ‘spot highlight’ of pure sky blue for maximum definition effect.
Lastly we mustn’t forget other key details that need highlights, too. It helps the overall effect if every element is ‘popping’ to the same standard we have achieved with our armor highlights.
For the eye lenses, I used a dot of hot orange toward the front, and a smaller dot of pure white toward the back. This suggests depth and reflectivity. The black parts I edge highlighted with a pale gray, using the same 00 brush side-on approach I used for the armor edging. The bare metal was highlighted with a bright silver, which I feel contrasts really well with the steel, post-black wash. Finally, the leathers were all lined with a tan highlight, to give the impression of wear and tear as they age.
For the eye lenses, I used a dot of hot orange toward the front, and a smaller dot of pure white toward the back. This suggests depth and reflectivity.
The Ultramarine Assault Intercessor is done! I hope I have shown a simple but effective way to replicate the same scheme used by the boxart. It is a simple scheme but can be difficult to get right without some key experiences many new painters lack. The right tools – and their application – for the job will help a lot. For next steps, you could consider how to boost the basing, perhaps with rubble or static grass depending on the environment. The kit also comes with transfers for squad markings, if you like to use decals in your miniature painting. The choice is yours!
Made with love. Copyright © 2024 Redgrass – All rights reserved.